Showing posts with label Koi Pond Landscaping project. Show all posts

4/17/14

Underside of the roof, progress and completion.

Whoa, whats this...an actual update. Iam just as surprised as you are. Like usual life is always getting in the way of progress, I really need to make that a slogan on a t-shirt seeing as I use it alot on my blog here. Whats been keeping me from working on the pond you say? Why my little machine shop that I built and set up(when I get the chance Ill post some pics). Yeah that started as what I though would of been a nice little quick side project but alas like everything else it took over, story of my life. Anyhoo back on topic here the pond. Over the course of the past month I was able to do some work on it, mainly the underside of the roof. I was given these plastic sheets that were originally used at a shopping center, so naturally since they were gonna be pitched my dad gladly took them home.
These were great because since they were plastic I could cut them easily with some Tin Shears. The next step was to dry fit them so I could draw up where I need to cut the slots for the trusses to come through.
Once they were attached I had to cut the angles at the end, that way all four sides would meet up nicely.

Once all that was done it all looked like one even running piece. It was so nice working with these plastic pieces just the weight alone meant I could do it all by myself with out a extra pair of hands. Definitely need to find out where to get these so if I ever do this in the future to use them again. Next step will be the decorative rafter tails I want to make for each truss. Till next post....hopefully very soon....which by the way should be on the back of said shirt I mentioned earlier.


4/30/13

Sides are up.

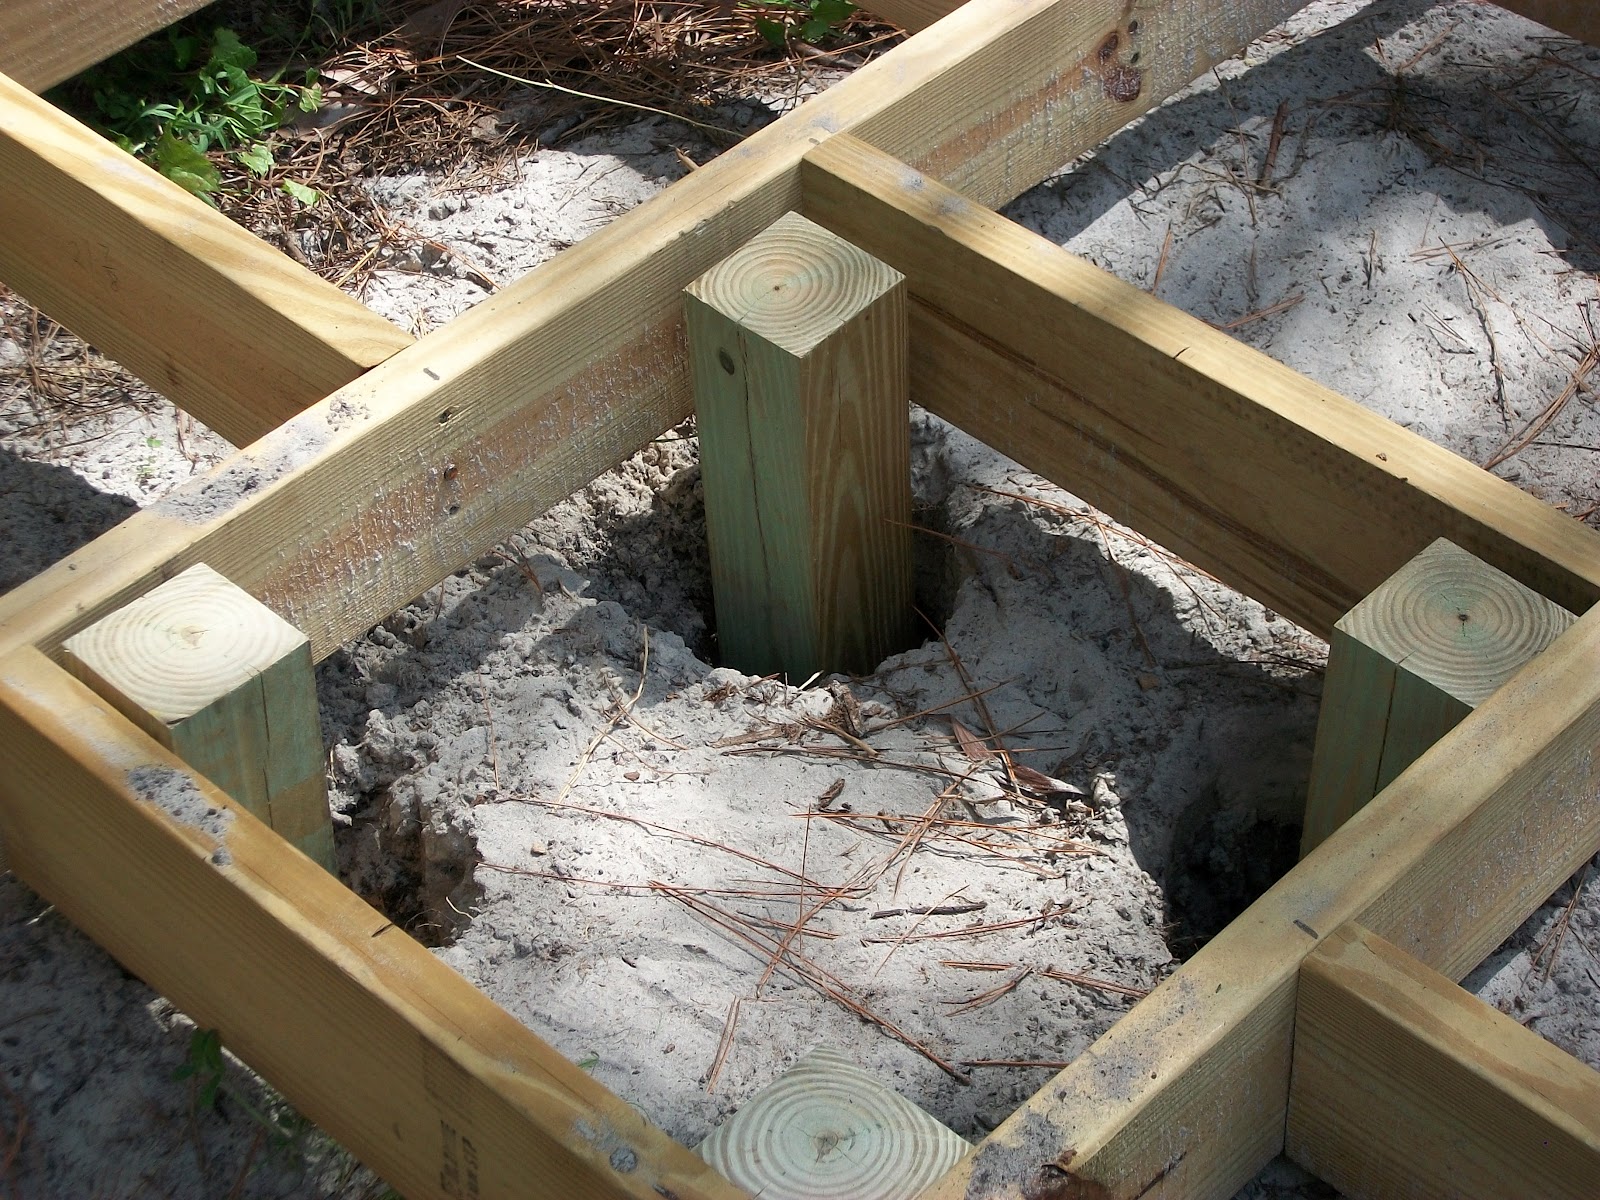
Well this post took forever, as usual work and life got in the way. Anyways, back on track. Progress has been a little slow as of late due to lack of time and materials but I did manage to finish building and erecting the walls on the house.
I kept in mind that I wanted to keep the house ventilated, so Iam going to put lattice as a 1 foot "window" opening starting from the top supporting beam. That way it should stay ventilated but at the same time keep most of the weather out.
Then after some time in sketchup Ive come up with a final cosmetic design for the 2 sides, still ironing out what I want the front to look like though. Not a 100% sure yet on the color scheme though, I was going to go with some reds on the wall, but with the roof being red it was to much. So more than likely Ill be experimenting with browns.
While I have vacation time coming up at the end of this week, sadly I wont be able to work on this due to me buying my new toy, a metal lathe (Pics of that are on the Facebook page "Here" ). I have it currently sitting in a open air garage and I need to bring into my shed in the back, but I have to gut it and fix it up before that. So thats gonna be my vacation in a nutshell. Till next post.


3/28/13

Shingles and Ridgecap complete.

Been a while since Ive worked on the pond, and thanks to daylight savings time Ive been able to work on it this week. Alot has been done and for the most part the roof is done just some minor cosmetic things are left to be done.
Also Iam sooo glad that me and my dad, well mostly my dad dont have to climb and teeter totter on the roof anymore. This thing has a pretty steep pitch, and our make shift scaffolding could only do so much, luckily we managed and prevailed. Next thing that was added and unfortunately I was only able to do the left side, was the outer truss wall's that will cosmetically cover the holes on the trusses.
Friday is a semi early work day for me so Iam hoping to finish plugging up the other side of the roof and then it will truly be complete. The next step will be to run some electricity to here so I can start erecting walls and make the deck around the pond, I cant wait! Till next post.


1/28/13

Shingles on the roof.

Well since Iam on a roll today with posts might as well post something Pond related too. These pics are from a week ago and again due to work(I know this is starting to be a recurring theme here) iam now posting them.
And then there was shingles!....Well sorta a quarter of the roof has shingles, half the front and the right side have shingles up, alas this was all the time I had, since my dad was leaving for a hunting trip for a week. My schedule for the rest of the month is lining up pretty well so Iam hoping when he gets back the whole roof will be shingled up.
You can see our makeshift scaffolding in this last pic lol, but hey its how we roll lol. Till next update!


12/10/12

Roof with Tar Paper.

I can finally breath a sigh of relief now that the roof is pretty much done.
My dad has this week off for vacation, unfortunately I didn't, but that didn't stop us from getting as much done as whats shown here.
Due to time I never posted the corner truss pics up, they were much a pain as I was dreading they were. Most of the week was spend dodging the weather as it was pretty erratic. Luckily when it did rain it didnt rain for long. The Plywood took most of the week cutting and putting up, and when the days were done we ended up having to cover up the plywood with tarps due to the plywood we bought not being that weather proof (Hurray for trimming costs). Thankfully in almost 3 days of work it was all put up.
Tar paper was applied today and finished as well, some temporary cross struts were made to keep the loose ends of the tar paper from rolling up just in case.
Next up shingles, which we decided on due to cost of the Ondura panels we originally wanted to put up. Iam hoping this week those as well will be up. Here's hoping! If not things are gonna have to wait till after the new year. Till the next time.


11/1/12

Side Trusses.

Again late with the pictures, but you know the routine by now, work blah blah. Anyways these weren't nearly as complicated as the main trusses. It also helped that I didnt spend a couple days reworking them like the others because of design flaws. All in all it went smoothly.
I built them all together and since they were relatively small between me and my dad we were able to put them up all in one piece.

Next step the corner trusses and then finally plywood. Till next post.


10/26/12

Trusses Erected.

This post is quite a bit late since the work from these pics were done about a week ago. As you can see here There finally up.
The next step is putting up the side and corner trusses, me and my dad were going to start putting down the plywood on the roof but we then decided it would be easier to do it once the side and corner trusses were attached as well.
The side trusses are made I just haven't had the chance to take any pics of them, once again my work schedule and the weather have been a constant thorn in my side. All I know is there up and thank god, its finally starting to look like a house lol. Well till the next post.


9/10/12

Truss Construction.

After what seemed like an eternity, Ive been able to begin working again on the pond. Weather and Surgery kept me from starting the project again.  Having vacation this week is also helping. Ive started the process of building the trusses. I currently have 1 built just to get the idea and feel, because I knew going into this that the final product was gonna differ from the Blue prints.
I eliminated a piece from the blue print to the truss because I figured out that I didnt need it, which will save me on time and wood. I also learned for the other 4 trusses that Ill have to build them a bit different as well.
The other ones I figured Ill make and attach the outer top V then cut everything to fit that V, this will make it different than the first truss because even though I measured everything it all didnt fit nice and snug this new way will ensure a better snug fit.
Well tomorrow will be another day Iam hoping by weeks end Ill have all the trusses finished and hopefully if I have time have them up as well. Till next update.


6/13/12

Attached floor.

Got alot of work done today, guess getting up early actually helped for once lol. Between me and my dad we both leveled and attached the floor to the 4 corners.
This floor was heavy so using some clamps and a extra pair of hands we shimmied and leveled it into place, first we attached the outer planks giving me the initial support and also serving as a guide on where to put the inner gridded floor, which is one piece by the way.
The next step which I couldn't due today due to not having any concrete is going to be reinforcing the center of the floor with some small 4X4's and another 2X6 as a divider. This will give me the needed support in the center of the floating floor to hold the weight of the filter when thats finally installed.
Next step will be to pour concrete into this spot, and then begin on the upper support of the structure that will hold the trusses. Till next update!!!


6/4/12

Errected Columns of the Koi Pump House.

Didn't really have time yesterday for this update. So I figured since I didn't do anything when I got home today I figured Id combine both days lol. Me and my Dad dug the holes and put the four 4X4 posts that will hold the structure up, there just loosely in the ground at the moment. The next step is do raise and evenly square the floor with the posts so I can finally put cement in the holes.
Here are some different views of the progress so far.
Progress has been slow due to my work schedule and my Dads not lining up, but Iam hoping to at least get this floor done by the time I go on vacation coming up in July that's when Ill be able to devote all my free time to the project.

Well till the next update!!

5/28/12

Bare floor of the Koi Pump House.

Well its time finally for another update!! Between weather and work I wasn't able to work that much on the Koi pond, but with the help of my dad I was able to scrap together and cut what was needed to begin assembly of the floor of the pump house.
I have it put together with just some nails at the moment just to hold the shape, Iam hoping within the next couple days Ill be able to put it together permanently with deck screws.
The goal is by this weekend hopefully Ill be able to put in place with the 4 columns that will hold the walls up, of course if weather permits. (Fingers Crossed).
 Till the next update!!