5/21/13

Various parts finished.

What can I say its been a while since my last update. Like I thought I spent my whole vacation gutting and renovating my shed to be converted into a workshop, while still not a 100% completed I have very little to go. I wish I had another week off lol. Anyhoos back on track here, I spent this week working on the proton pack after spending a couple days of much needed "Not Doing anything". I was able to finish 4 parts, first part was PPD, fairly simple part pretty much just a cylinder with a angle cut on one end.
Next part was another easy one, its the decorative corner plate that goes on the top right corner of the pack just to give it some "fat". This part had a couple odd angles that at first stumped me but once I sat down and thought about it they ended up being fairly easy.
Onto the following part is the shock mount, which all it is really is a cylinder with a bunch of ribs cut into to it. This was another part that threw me for a loop in the beginning but then was easily overcomed.
When it comes time Iam still on the fence on whether I will lathe this piece out or just use the one I have, made of a bolt and different size washers.
Finally I made the Clippard valve. I like the way this piece came out because I wasn't sure how accurate the blue prints were since it was stated on the print that I needed to take some liberty's on certain dimensions. Lucky for me though I stumbled onto clippards site where they actually had some sketchup files already made of the part. Boy was I happy to see how pretty much dead on I was with the one I downloaded, the only differences besides the lack of certain details, was the dimensions around the neck of the top of the valve. I had to make up my own dimensions. This is definitely a part I will be lathing, so I will need to come up with some more accurate dimensions. Iam excited because this will be my first part ever I will be making on how to learn how to use the lathe.
Can you guess which ones the one I made lol.
Thats all for now, next post Ill have some progress pics on the wand.


4/30/13

Sides are up.

Well this post took forever, as usual work and life got in the way. Anyways, back on track. Progress has been a little slow as of late due to lack of time and materials but I did manage to finish building and erecting the walls on the house.
I kept in mind that I wanted to keep the house ventilated, so Iam going to put lattice as a 1 foot "window" opening starting from the top supporting beam. That way it should stay ventilated but at the same time keep most of the weather out.
Then after some time in sketchup Ive come up with a final cosmetic design for the 2 sides, still ironing out what I want the front to look like though. Not a 100% sure yet on the color scheme though, I was going to go with some reds on the wall, but with the roof being red it was to much. So more than likely Ill be experimenting with browns.
While I have vacation time coming up at the end of this week, sadly I wont be able to work on this due to me buying my new toy, a metal lathe (Pics of that are on the Facebook page "Here" ). I have it currently sitting in a open air garage and I need to bring into my shed in the back, but I have to gut it and fix it up before that. So thats gonna be my vacation in a nutshell. Till next post.


4/11/13

Booster Frame Done.

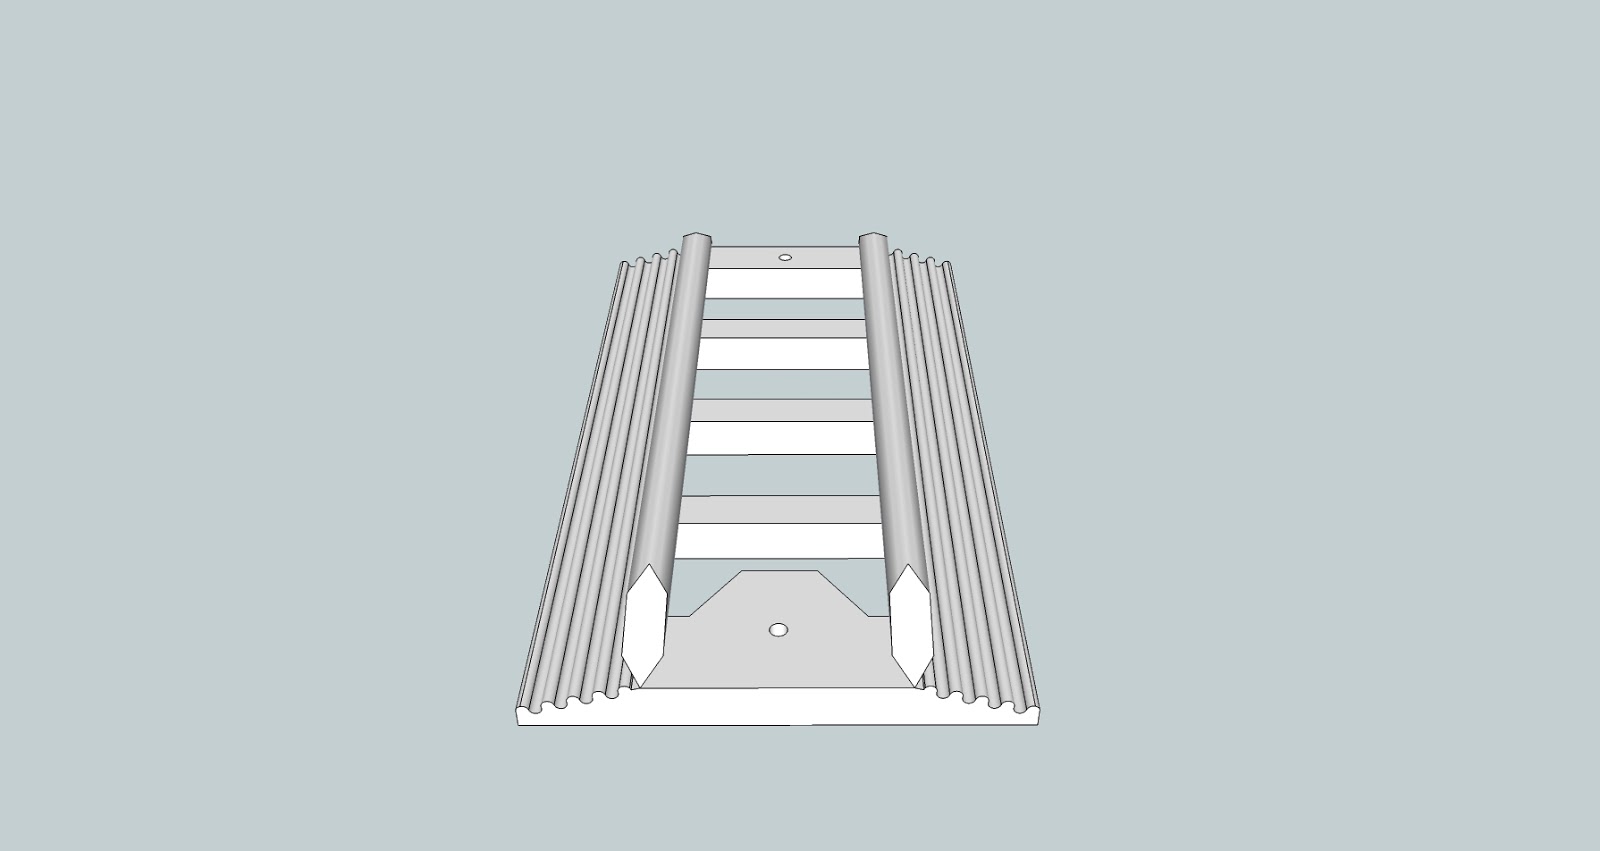
Work on the pond has picked up so I haven't had much time to work on the sketchup proton pack, so luckily I was able to work on it a bit today. After alot of back and forth I finally finished the booster frame.
There was alot of back and forth on trying to figure out the placement of the ribs on the sides since the blue prints never specified, so thus again it was left to my interpretation.
I can gratefully say that Iam glad I got another part done, Iam at the home stretch pretty much all thats left is the wand and a couple little cosmetic things. Iam hoping Ill be able to finish it with in the next 2 months. Tune in soon for some pond updates, till next time.


3/28/13

Shingles and Ridgecap complete.

Been a while since Ive worked on the pond, and thanks to daylight savings time Ive been able to work on it this week. Alot has been done and for the most part the roof is done just some minor cosmetic things are left to be done.
Also Iam sooo glad that me and my dad, well mostly my dad dont have to climb and teeter totter on the roof anymore. This thing has a pretty steep pitch, and our make shift scaffolding could only do so much, luckily we managed and prevailed. Next thing that was added and unfortunately I was only able to do the left side, was the outer truss wall's that will cosmetically cover the holes on the trusses.
Friday is a semi early work day for me so Iam hoping to finish plugging up the other side of the roof and then it will truly be complete. The next step will be to run some electricity to here so I can start erecting walls and make the deck around the pond, I cant wait! Till next post.


3/5/13

Bumper Finished....finally.

Well finally back from the con I went to, didnt really do to hot there as I only sold 1 piece of perler art but honestly not bad for being my first time lol. Between yesterday and today I was finally able to finish the bumper and I can definitely say that this was the hardest piece and most annoying piece to work on thus far.
Once again the limitations of Sketchup reared its ugly head again and I spent a good chunk of the evening yesterday trying to figure a way around it. Sketchup apparently has a limit on how small a radius it can handle, as in it just wont make one. So I just left where it makes the rounds in the corners essentially blank spaces.
After that nightmare was over it was just basic clean up of the model and then adding the holes at the bottom of the Bumper where it attaches to the main Pack body.
Honestly I dont know if Iam going to work on this much this work due too Iam pretty burned out and plain tired from coming home from work, and then working till the wee hours of the morning making the Perler art. for the con. So I believe a much needed R and R break is needed this week. Till next post!


2/14/13

Progress on the Bumper.

Managed to squeeze some time in this week to work on the bumper some more, its still a pain in the butt though.
Its finally taken shape, and Iam currently ironing out the final details in the thing. Ran into a bunch of hurdles in the curved parts on the to sides which was the majority of the hassle of this thing, but like all hurdles Ive been over coming them little by little.
The next headache was to figure out how the part contours at the bottom to the side parts. As seen in the above and bottom pics. The right side was fairly simple since it was a pretty easy fillet, but the left side was not so.. Luckily after a lot, and I mean alot of trial and error I was finally able to figure it out. The problem since I had free handed it it required alot of improvising until the final pic happened, Iam satisfied for the most part on how it came out though. Ill more than likley do something a bit different when the time comes to make the thing for real.
Currently Iam fighting on the right side, and it took me pretty much the most of yesterday to finally figure out how to get the groove on the right side to go from square to a round.

Again stuff like this always hits me when Iam not working on the thing, turned out to be something rather simple to do. After some searching on the "google", I found a pretty nice explanation on how go from a square to a round. Link here!
Iam really getting the hang of this, so when ever I tackle something Ive made up Iam glad Ill be able to put what Ive learned so far on this project towards it. So till next post.


2/11/13

Bumper Madness!!!

The Bumper, what can I say. I can solely say that this part has been a royal pain! Ive been working on this part probably for the last 4 days and Iam still not done.
As you can clearly see from the jumbled mess I have here lol. I belive the biggest issue Ive had with this part so far is the blue prints really dont have all the measurements so Ive had to guess on alot of stuff, artist interpretation if you will lol.
So one of the solutions I thought of and seemed to have worked so far was to basically bring in the actual blue print into Sketchup and scale it best I could to the initial part above. That way I could at least try to trace around some of it and make some rough measurements.
Overall Iam pretty happy with it so far, still far from done but still happy with it.
Unfortunately Ill have to put this project on hold after this part is finished or by the weekend, due too needing to start prepping for a Convention Iam gonna be at. I will be having a table with my sister and Iam going to be selling my Perler bead art there. Well till next post.